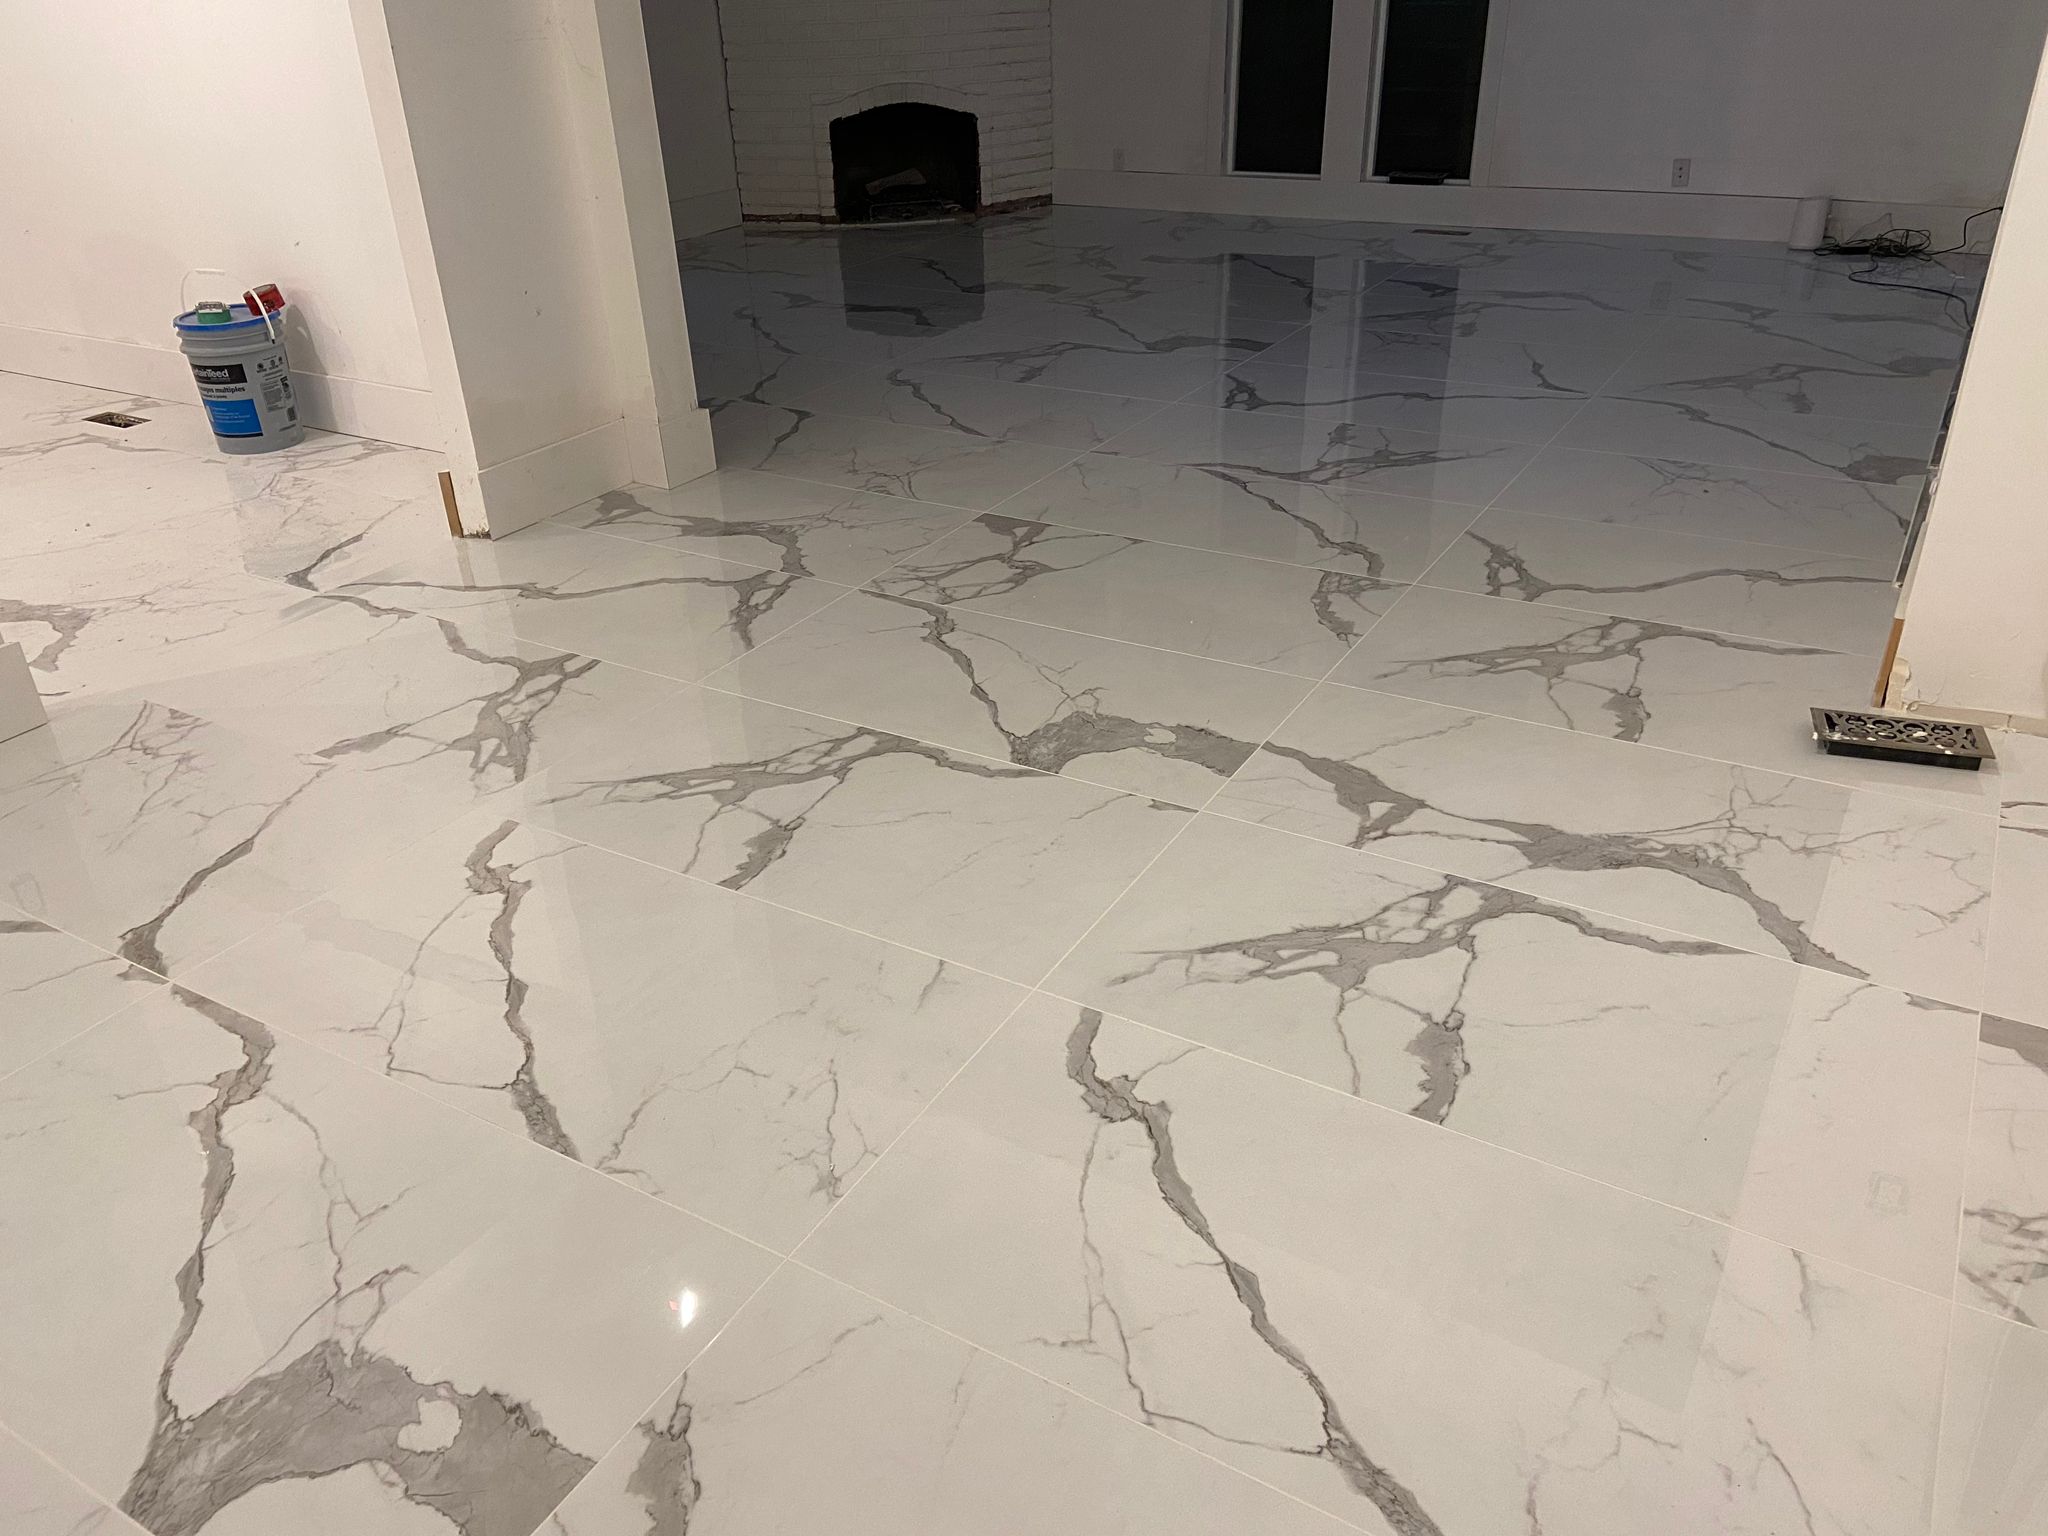
Floor Tiles Installation: A Comprehensive Guide
Floor tiles are a popular choice for homeowners and builders alike, offering durability, ease of maintenance, and aesthetic appeal. However, the installation process can be daunting, especially for those new to tile work. This article will provide a step-by-step guide on floor tile installation, covering preparation, materials, and best practices.
Preparation:
Before starting the installation, preparing the subfloor and surrounding areas is essential. This includes:
- Cleaning the subfloor thoroughly
- Checking for levelness and making necessary adjustments
- Repairing any cracks or damages
- Removing old flooring and adhesive
- Ensuring the subfloor is dry and free of moisture
Material:
Floor tiles (chosen material and design)
- Tile adhesive (thin set, mastic, or epoxy)
- Grout
- Grout sealer (optional)
- Tile cutter or wet saw
- Tile nippers
- Spacers
- Level
- Pencil and straightedge
Installation Process:
- Lay the Underlayment:
Apply a suitable underlayment material (cement-based, fiber-reinforced, or foam) to the subfloor, following the manufacturer’s instructions. - Mark the Layout:
Measure the room and mark the center point. Use a straightedge to draw grid lines, ensuring even spacing. - Apply Adhesive:
Spread the tile adhesive on the subfloor, holding the notched trowel at a 45-degree angle. - Lay the Tiles:
Begin by installing the first tile in the center, using a level and spacers to maintain even spacing. Continue laying tiles, working your way outward. - Cut Tiles (as needed):
Use a tile cutter or wet saw to cut tiles for edges, corners, or obstructions. - Grout the Tiles:
Mix and apply grout between tiles, using a grout float and sponge to remove excess grout. - Seal the Grout (optional):
Apply a grout sealer to protect the grout from stains and wear.
Best Practices:
- Use appropriate safety gear (gloves, safety glasses, knee pads)
- Ensure proper ventilation and lighting
- Mix adhesives and grouts according to manufacturer’s instructions
- Use spacers to maintain even spacing
- Clean excess grout and adhesive promptly
- Allow adhesive and grout to dry according to instructions
Common Mistakes to Avoid
- Insufficient preparation
- Inaccurate measurements
- Inadequate adhesive or grout application
- Poor spacing and alignment
- Failure to clean excess grout and adhesive
Conclusion:
Floor tile installation requires attention to detail and patience, but you can achieve a beautiful and durable finish with the right preparation and materials. By following this guide and adhering to best practices, you’ll be well on your way to creating a stunning floor that will last for years to come. Remember to take your time, work methodically, and don’t hesitate to seek professional help if needed. Happy tiling!
Why Choose Us?
Here are some reasons why customers should choose your floor tile installation company:
- Experience: Our team has years of experience in floor tile installation, ensuring a high-quality finish.
- Quality Materials: We use only the best materials, sourced from reputable suppliers, to ensure durability and beauty.
- Attention to Detail: Our skilled installers take pride in their work, paying close attention to every detail.
- Customer Service: Our dedicated team provides exceptional customer service, ensuring a stress-free experience.
- Competitive Pricing: We offer fair and competitive pricing, without compromising on quality.
- Timely Completion: We understand the importance of meeting deadlines, and our team works efficiently to complete projects on time.
- Warranty and Support: We stand behind our work, offering a warranty and ongoing support for your peace of mind.
- Custom Solutions: Our experts work with you to design a custom tile layout that fits your unique style and needs.
- Professionalism: Our team is reliable, trustworthy, and respectful of your home and property.
- State-of-the-Art Techniques: We stay up-to-date with the latest installation techniques and technologies to ensure a superior finish
